Unit 1: Sorting and Patterning
In Unit 1, we have a mix between two strands found within the Mathematics curriculum. We have factors stemming from Patterning and Algebra, as well as Data Management and Probability. Please find more information below about the material being covered in class.
Learning Goal: We are learning how to sort objects and create patterns.
Success Criteria: We know we are successful when we can...
Learning Goal: We are learning how to sort objects and create patterns.
Success Criteria: We know we are successful when we can...
- sort using two attributes
- make a pattern
- represent patterns in different ways
Sorting by two attributes
|
|
Why do we sort?
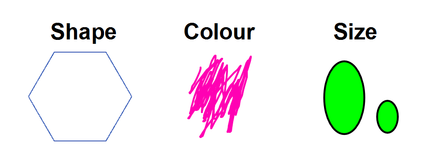
We naturally sort objects and information into different groupings so that we can more easily identify their similarities and differences. How do we sort? There are 100s of ways to sort, but in Grade 2, we shall be looking at 3 attributes: colour (blue, green, red, etc.), shape (triangle, circle, square, etc.) and size (big, medium, small, etc.) |
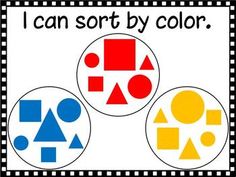
We often sort things by colour in our daily lives. Want to practice? Try sorting M&Ms into different colour groupings.
|
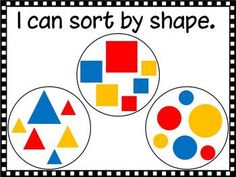
We sort things by shape all the time. Want to practice? Try sorting your cutlery at home by spoons, forks, knives, and chopsticks.
|
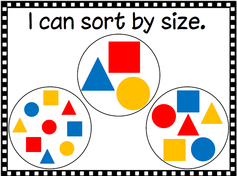
We sort things by size all the time. Want to practice? Try sorting your dishes/pots/pans by large, medium and small.
|
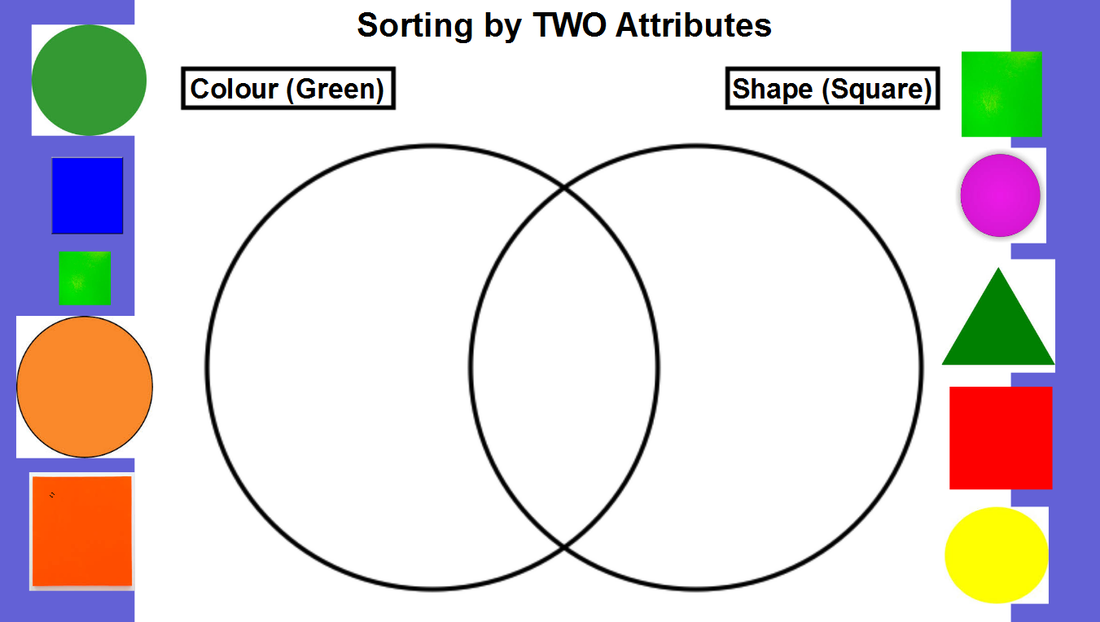
BEFORE SORTING: You must make sure to label your two sorting circles on the Venn diagram. First, write the two attributes you will be using: shape, colour, or size. In the example above, we chose colour and shape. Beside the attributes, you can be more specific adding the type of shape and colour (squares and green).
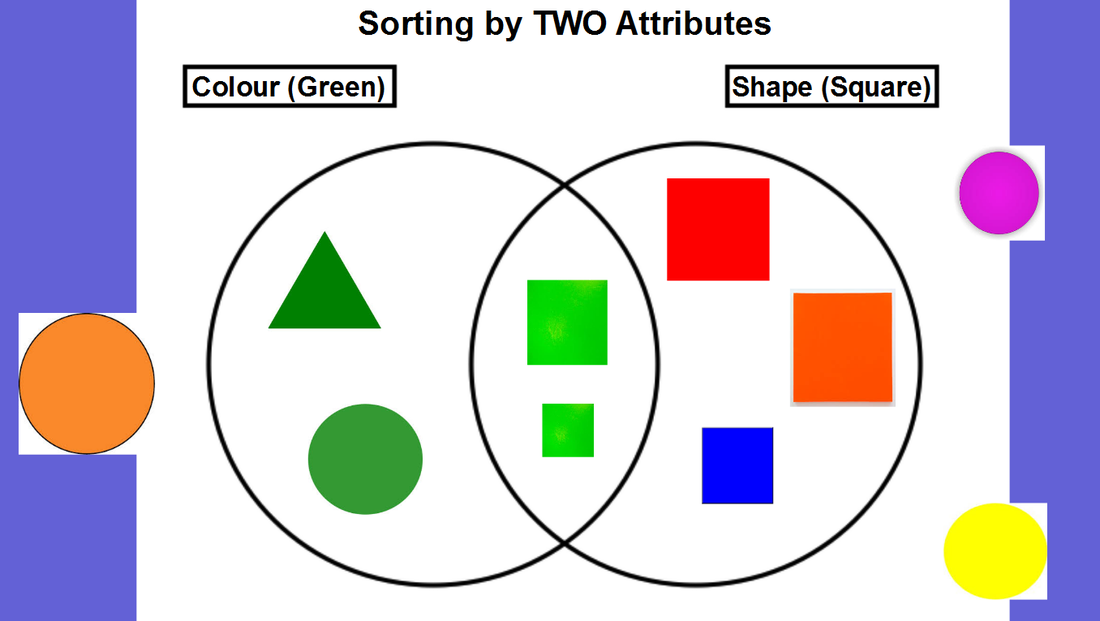
AFTER CHOOSING TWO ATTRIBUTES: After choosing your two attributes and labelling the sorting circles, start moving the objects into the correct circles. The objects showing both attributes must be in the middle. Only the objects which fit the attributes must be put into the sorting circles. The orange, yellow and purple circle above do not fit into any sorting circle and, therefore, are left aside.
Make a pattern
|
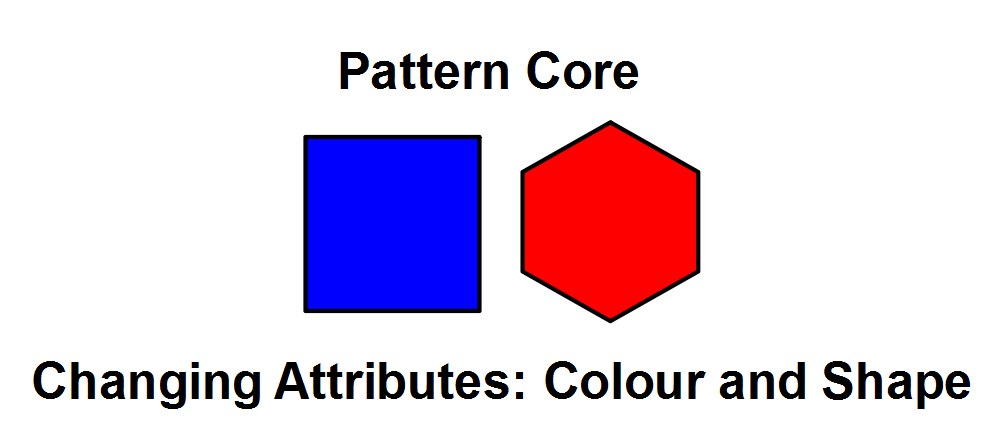
Step 1: Choose 2 Changing Attributes
Choose how you want your pattern to look. Do you want it to be changing based on size? Do you want it to be changing based on colour? Do you want it to be changing based on size? |
|
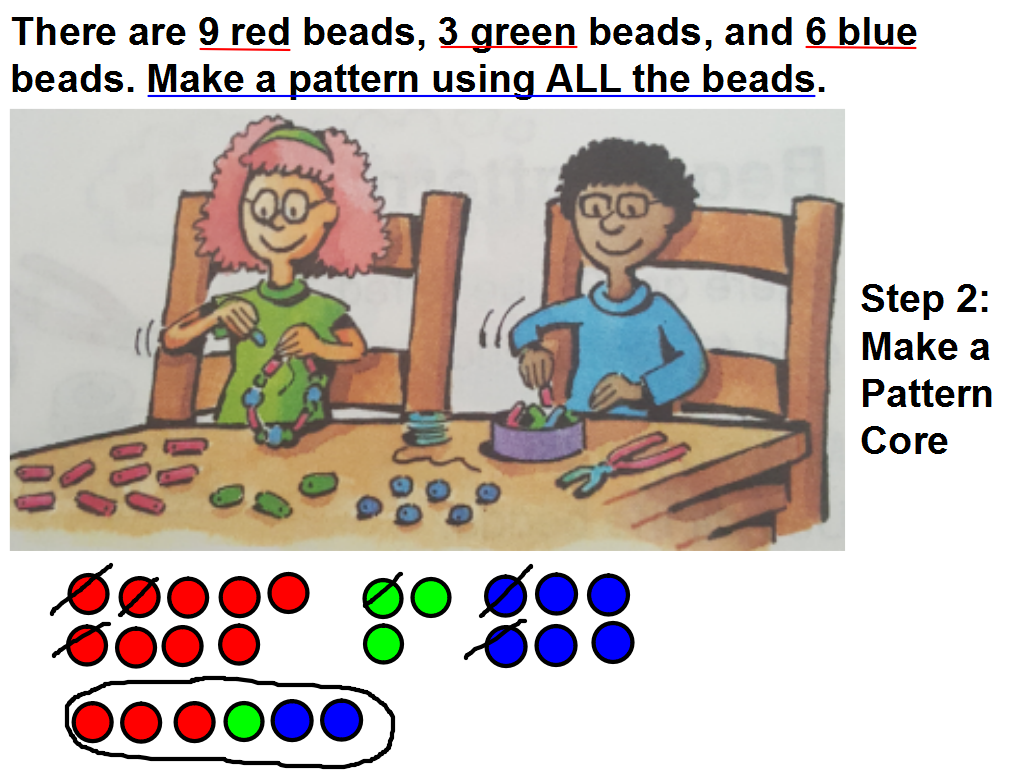
Step 2: Make a Pattern Core with the Attributes
Using your two chosen attributes, create the BEGINNING of a pattern. This pattern core will be repeated at least 3x in order for you to create a pattern. Make sure to ask yourself the following question: What are my two changing attributes? |
|
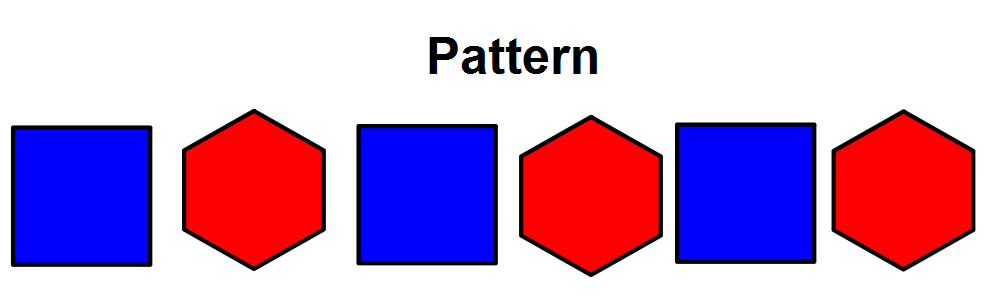
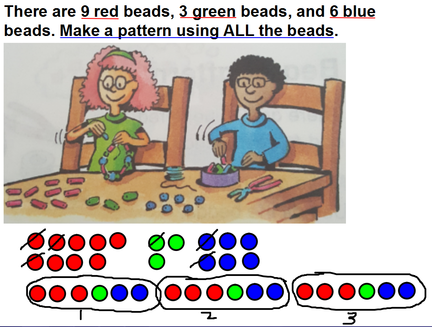
Step 3: Repeat the Pattern Core 3x
Repeat your pattern core AT LEAST 3X to form a pattern. If you do not see your pattern core repeated 3x in order, you have not made a pattern. If you repeat the pattern more than 3x (for example, 5x), this is still a pattern! |
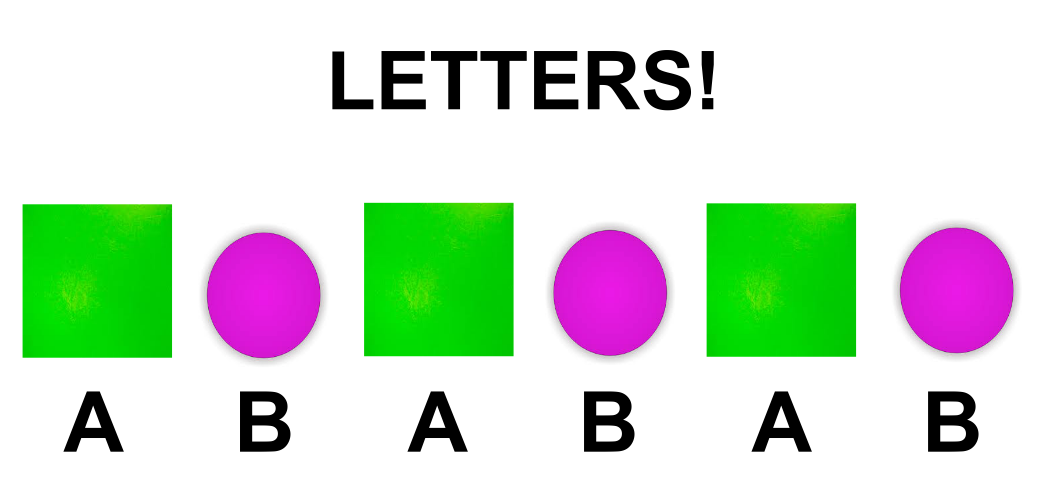
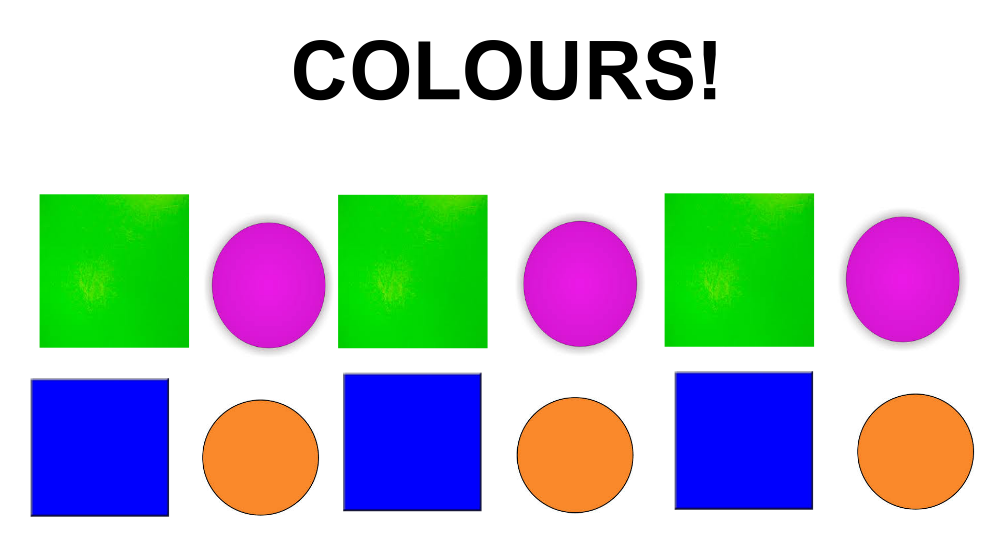
Representing patterns in different ways
Students are expected to understand that although there are many different types of patterns, we can always represent them in different ways. In Grade 2, we look at how to express patterns using letters, pictures, and colours. Sound is just for fun!
|
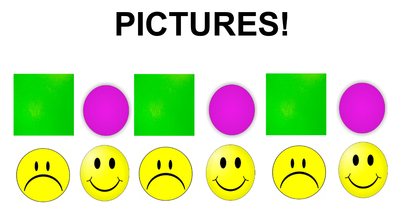
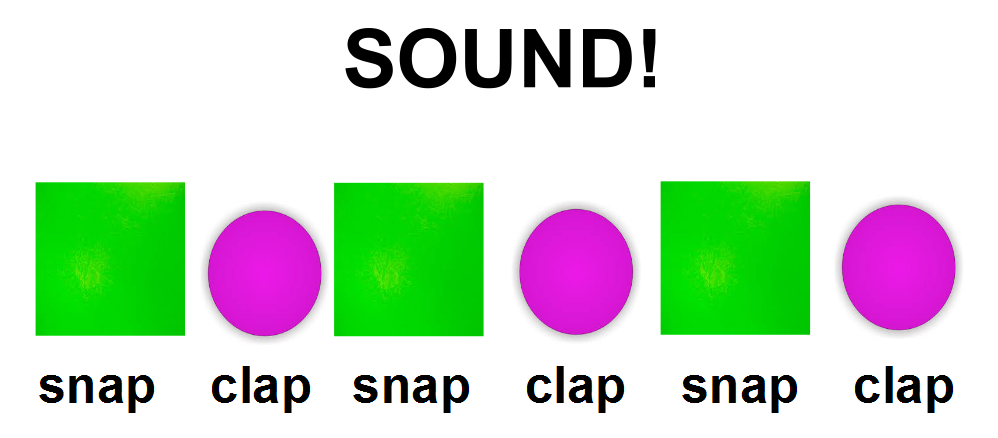
***DO NOT USE SOUND FOR ASSESSMENTS!***
|
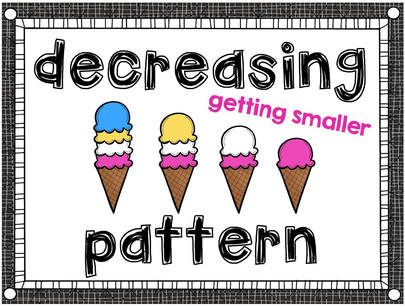
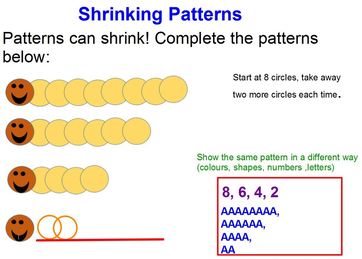
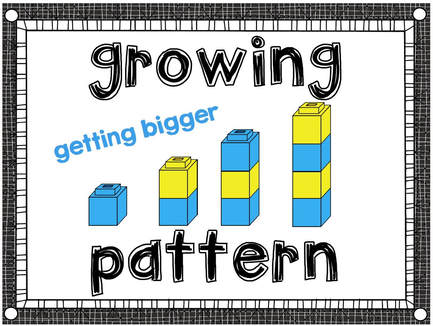
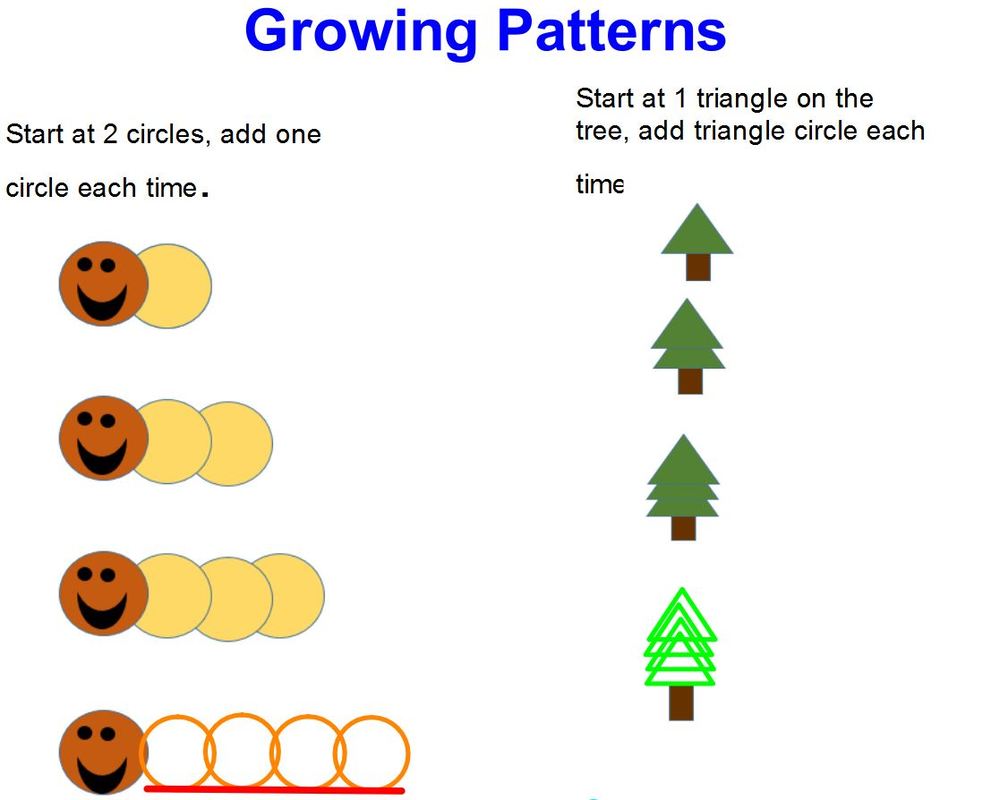
growing and shrinking patterns
|
|
|
|
solving patterns with word problems
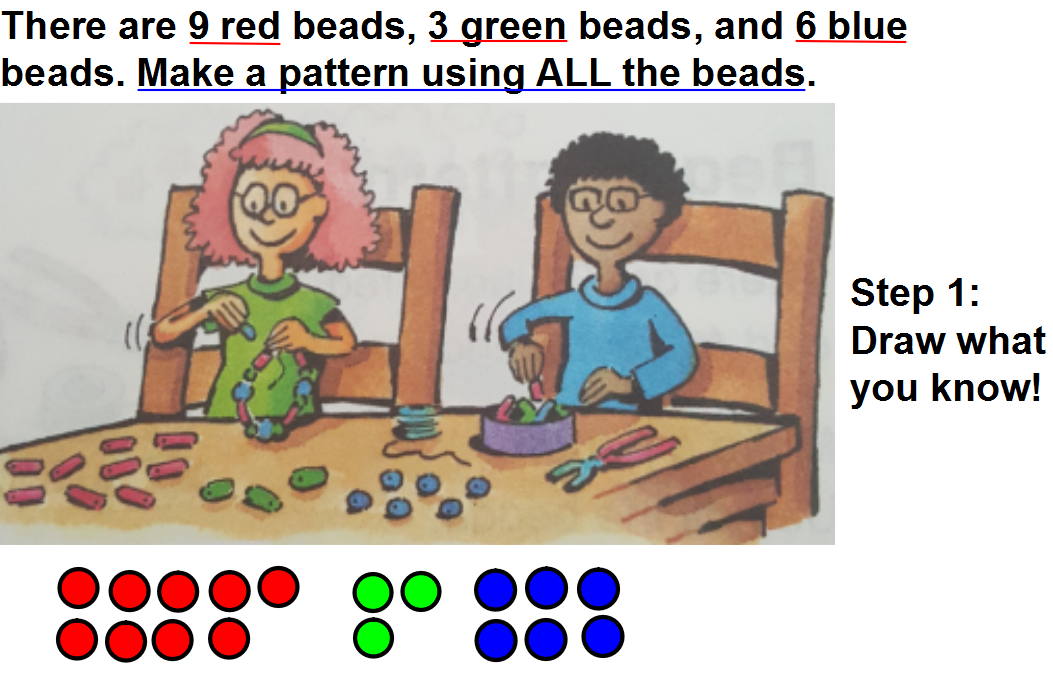
Step 1: Draw what you already know!
Step 3: Repeat the Pattern Core at least 3x!

|
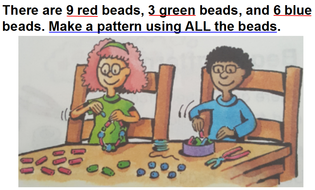
There are 9 red beads, 3 green beads, and 6 blue beads. Make a pattern. Use ALL the beads.
You need to ask yourself two questions when solving word problems: 1) What do I need to do? (underline in blue) 2) What do I already know? (underline in red) This will help keep you on task! Step 2: Make a Pattern Core!
Step 4: Check your pattern!

|
Step 5: Explain your thinking with words!
|
If you used the steps above, you've already explained how you solved this problem using pictures and numbers.
To solve with words, use "First, Next, Then, Last." Go step by step. First, I drew what I knew (9 reds, 3 green, and 6 blue beads). Next, I drew a pattern core with 3 red, 1 green and 2 blue beads. Then, I repeated the pattern core 3x. Last, I checked to make sure that I used ALL the beads to create a pattern (has a changing attribute - colour, and the pattern core repeats 3x.). I know this looks difficult, but this is manageable. It just takes practice! Keep up the great work! |
